Guide to Manually Install Android 5.0 Lollipop OTA Update on AT&T LG G2 (D800)

A few days back, AT&T started the rollout of much awaited Android 5.0 Lollipop software update for LG G2 (D800). The update is available to download via Firmware Over The Air (FOTA) and requires Wi-Fi to update. The update installs v5.0.2 of Lollipop and updates LG G2 from software version D80020y to D80030f. Luckily, it removes some of the bloatware which includes: Browser Bar, Famigo, AT&T Code Scanner and Beats Music. There are still lot of pre-installed apps that you can choose to disable. What’s great is that, this major update doesn’t impacts your phone settings or data but AT&T recommends users to backup their contacts and files.
Users on AT&T network can simply check for the update from: All Settings > General > About phone > Software update > Update Now. But as the updates is pushed in batches, it may take sometime to appear on your device. In case you’ve purchased a factory unlocked AT&T LG G2 (like me in India), then you won’t get the Lollipop OTA update on your G2 unless you’re using a AT&T SIM card on your phone. That’s really disappointing but don’t worry, we’ve you covered!
Follow the below stated step-by-step procedure to install the official Lollipop OTA update on your LG G2 (D800) from AT&T without the need to wait for FOTA update or their SIM card. I’ve tried it on my AT&T G2 in India and it worked like a charm. The guide may look uneasy but once you follow all steps carefully, you can easily update your phone without any issues. All the apps and data remain intact.
Disclaimer: Try this guide at your own risk! We won’t be responsible if you break it.
NOTE: This guide is meant ONLY for AT&T version of LG G2 with model no. D800. DO NOT try it on any other variant of LG G2 as that may brick your device.
- Make sure your phone is charged
- Proceed with extreme caution and follow each step correctly
- Back up all of your data (just in case, always safe to be cautious than sorry!)
Requirements: LG G2-D800 running Stock recovery and Android 4.4.2 (D80020y) Stock ROM
Guide to Update LG G2 (D800) to Official Android 5.0.2 Lollipop OS using Windows –
Step 1 – Make sure your device is rooted.
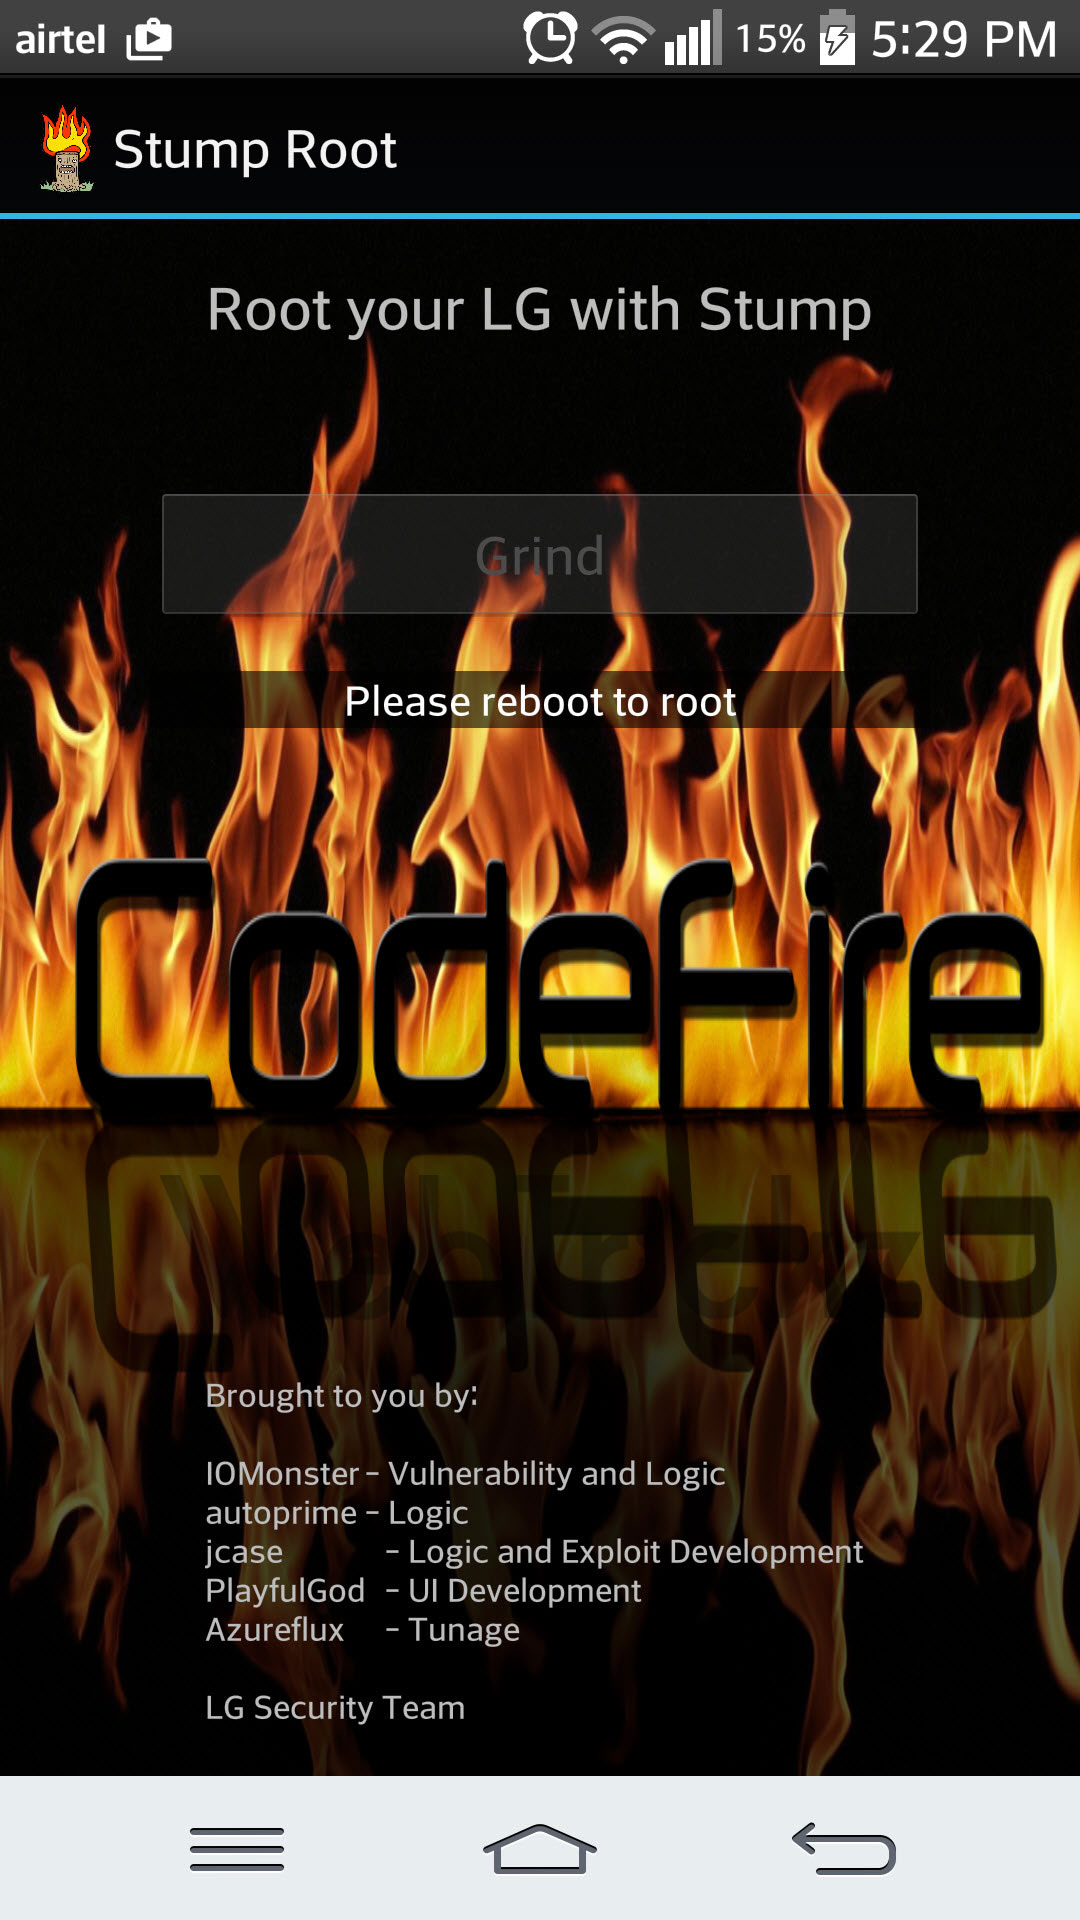
To Root D800 running Android 4.4.2 download Stump Root v1.2.0 and install via APK. Run Stump root and tap on Grind. If it says device not supported then select the bruteforce option and wait for the message saying ‘Please reboot to root’. When you see reboot message, restart your phone.

Then install ‘SuperSU‘ app from Google Play and update the app via Normal option. Reboot when asked. You can verify root by installing the ‘Root Checker’ app. Then Uninstall StumpRoot.
Step 2 – Download and install ‘LG United Mobile Drivers’ on your Windows system.
Step 3 – Download the official LG G2 D800 AT&T Lollipop update FOTA.zip file (Size: 695 MB). Extract the zip file to a folder on your computer. The fota folder should have a dlpkgfile file sized 726MB.

Step 4 – Install ES File Explorer app on your phone.
- Open the app, tap hamburger icon > go to Tools and enable “Root Explorer” option. Grant it root permission when asked.
- From menu, go to Local > Device /cache/ directory.

- Copy the dlpkgfile file from your computer into the /fota folder on phone.

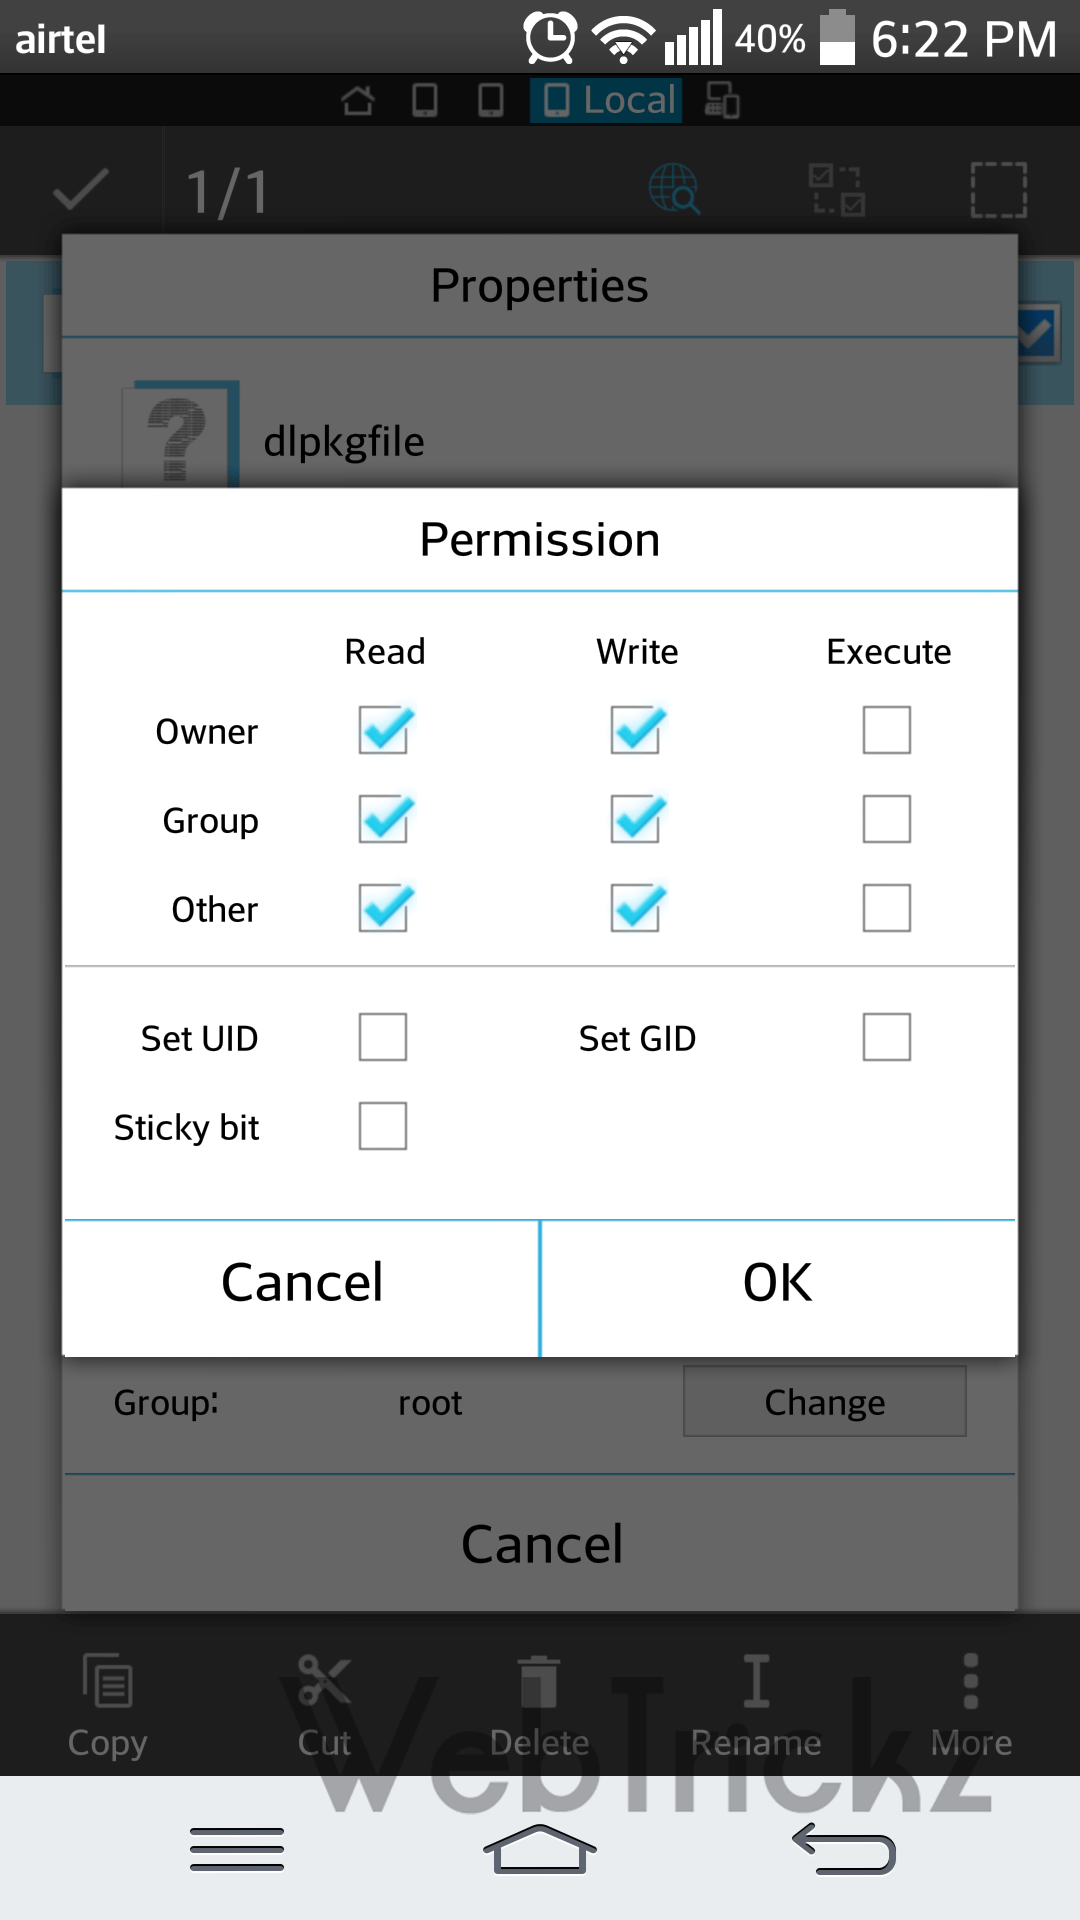
- Open the properties of dlpkgfile and change its permissions to 666 as shown. (This file gets deleted after the update.)
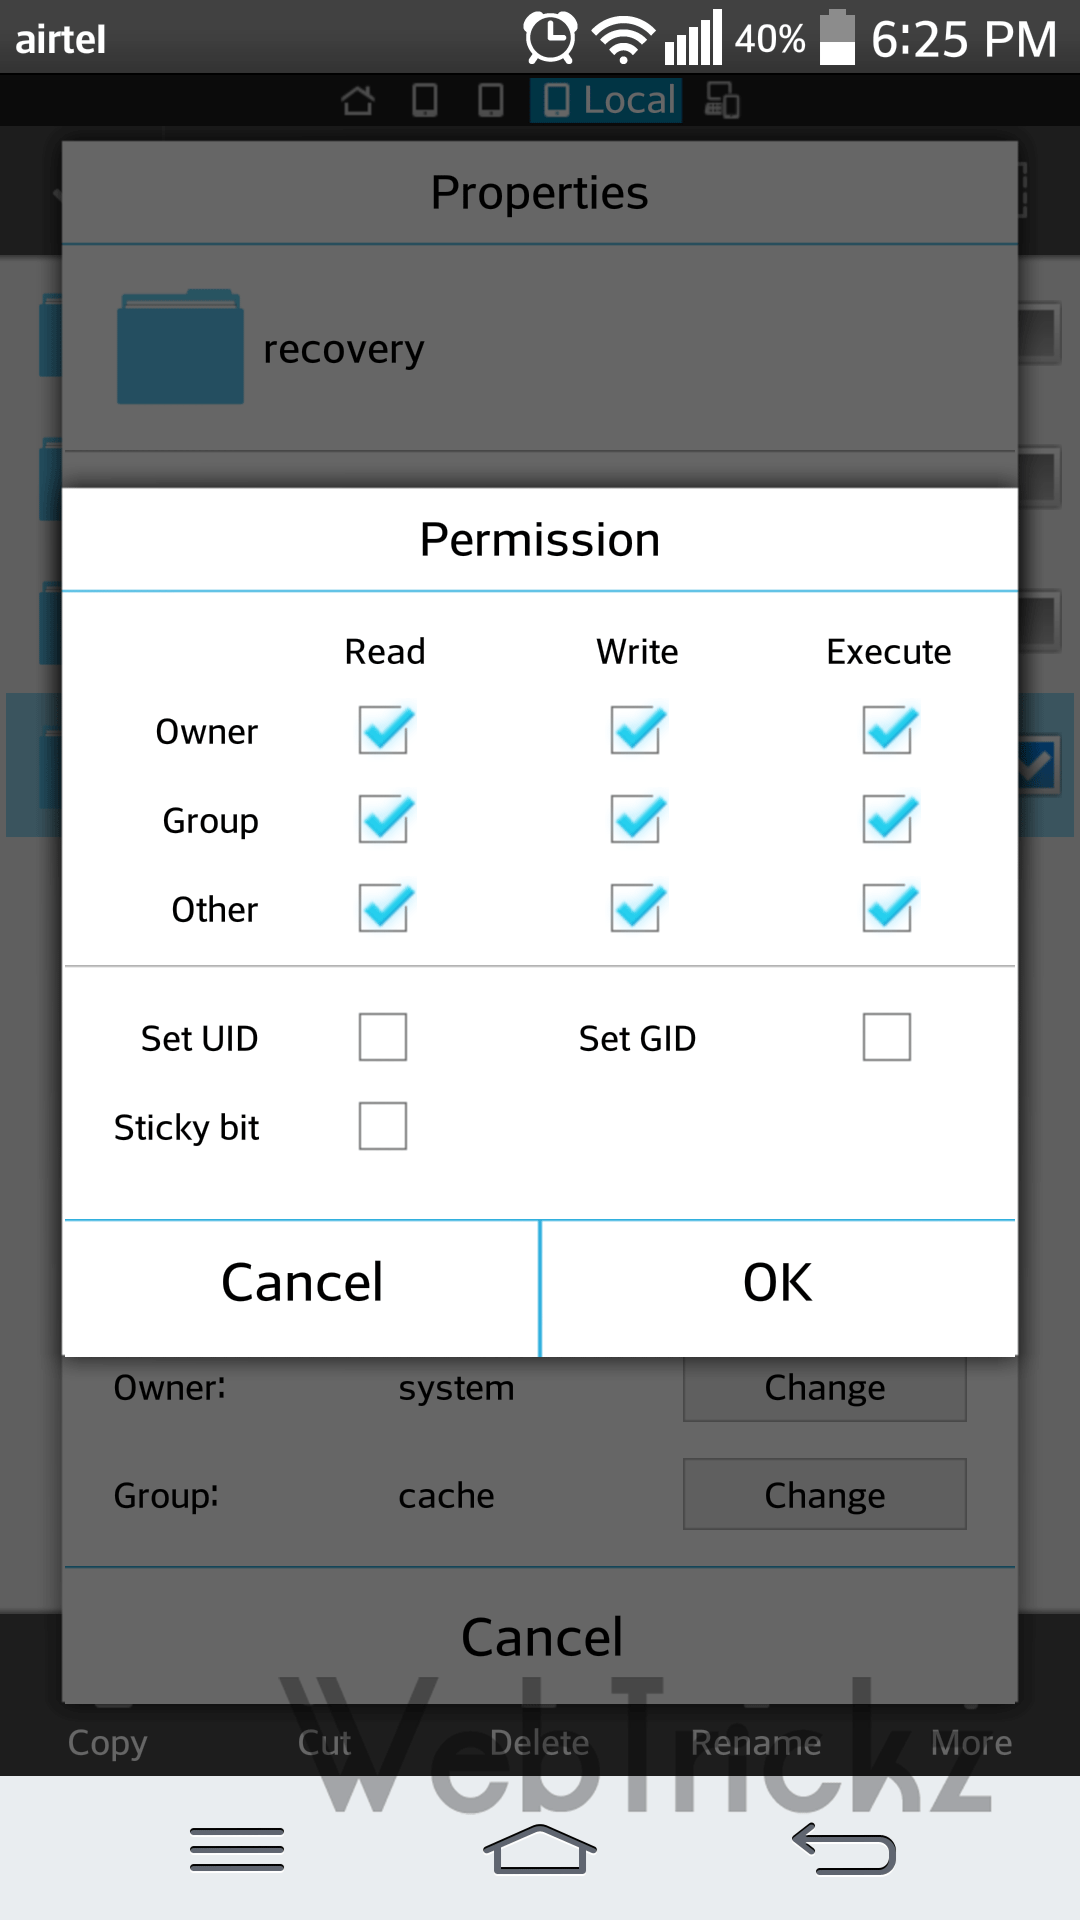
- Go to /cache/recovery and change the permissions of Recovery folder to777 as shown. (If /cache/recovery folder does not exist, create it. This folder is automatically removed after the update.)
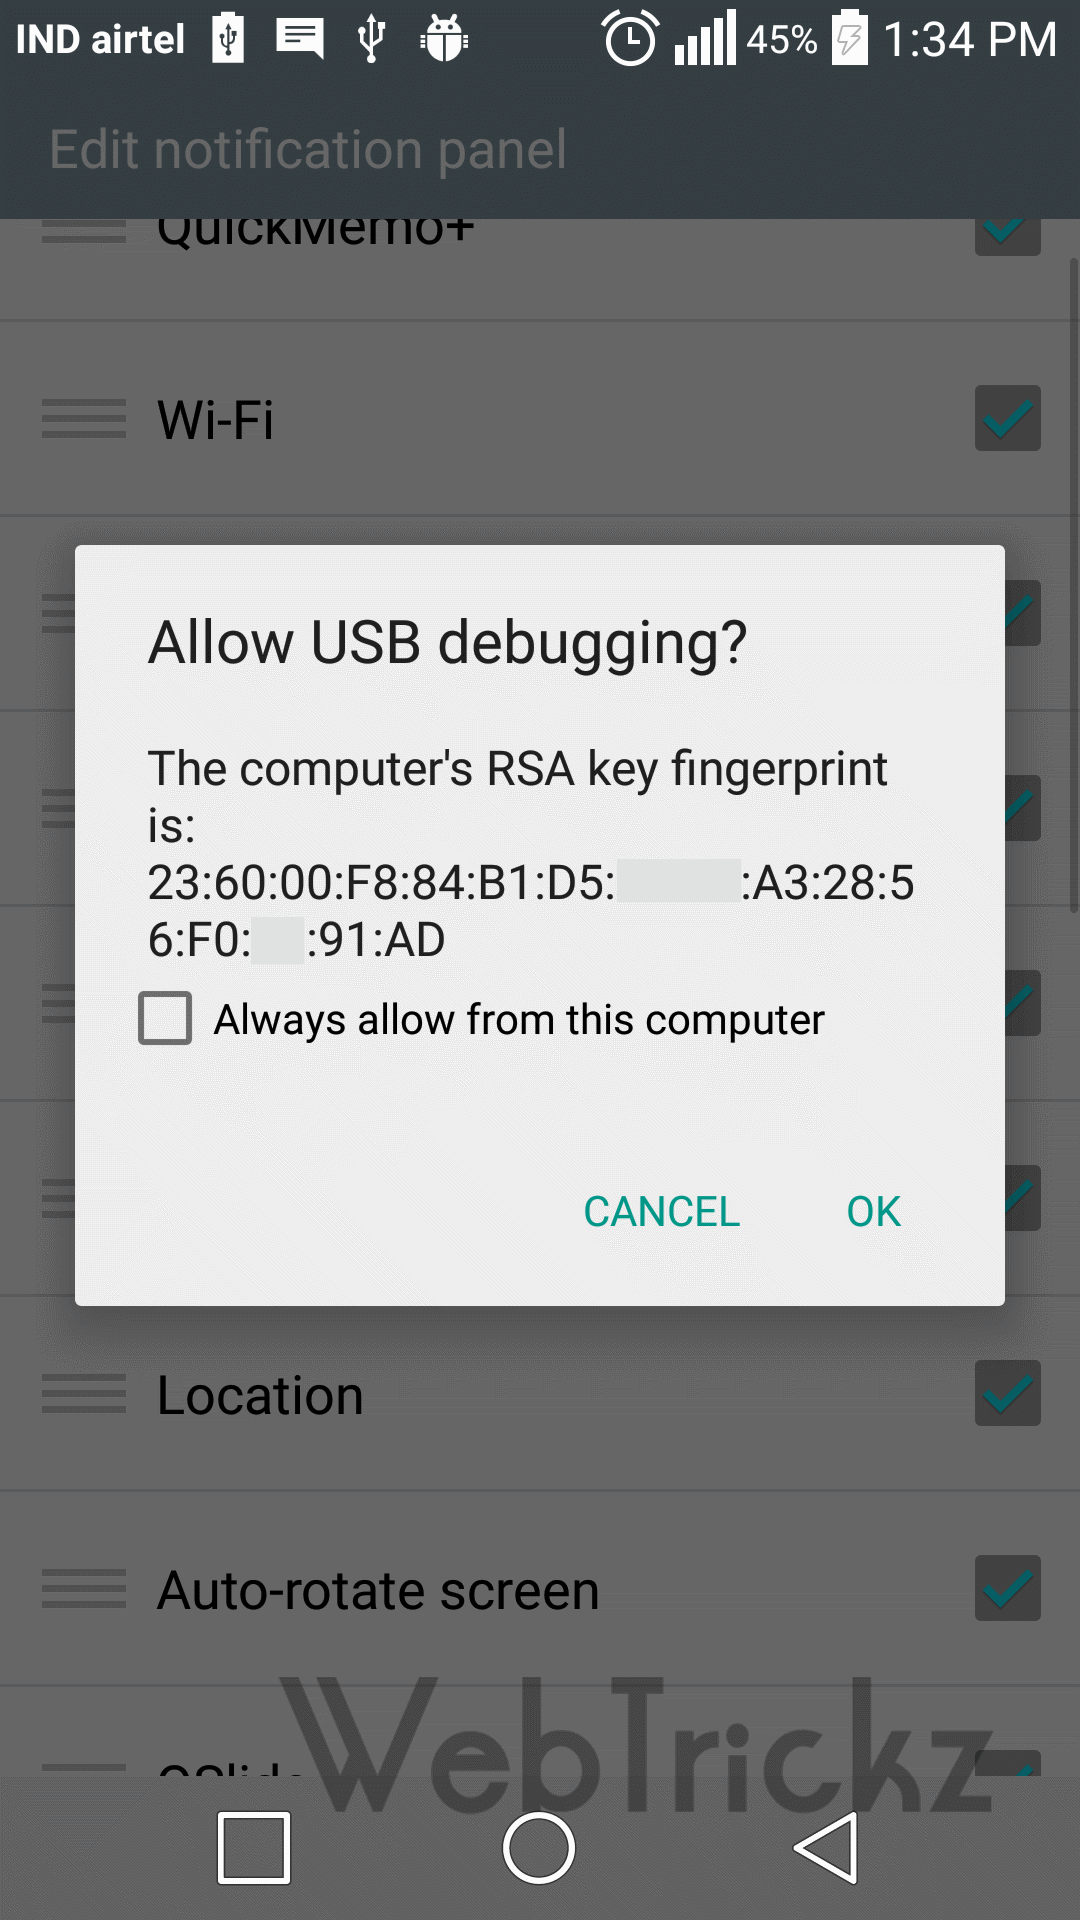
Step 5 – “Enable USB Debugging” from Developer options.
- Then connect the phone to computer via USB cable. (Select USB mode asMTP)
- You’ll see the Allow USB debugging? prompt on your device as shown. Select OK to accept.
Step 6 – Proceed with Flashing Lollipop OTA –
- Download ADB package and extract it to ‘adb_fastboot’ folder on desktop.
- Right-click ‘adb_fastboot’ folder while holding down the Shift key. Then select ‘Open command window here’.

- In CMD, type adb devices to make sure your device is connected over ADB.
- Then enter adb shell and hit enter.

- Enter the below command: (Tip: Copy and paste the command in CMD by right-clicking)
su
echo “–update_package=/cache/fota/dlpkgfile” > /cache/recovery/command
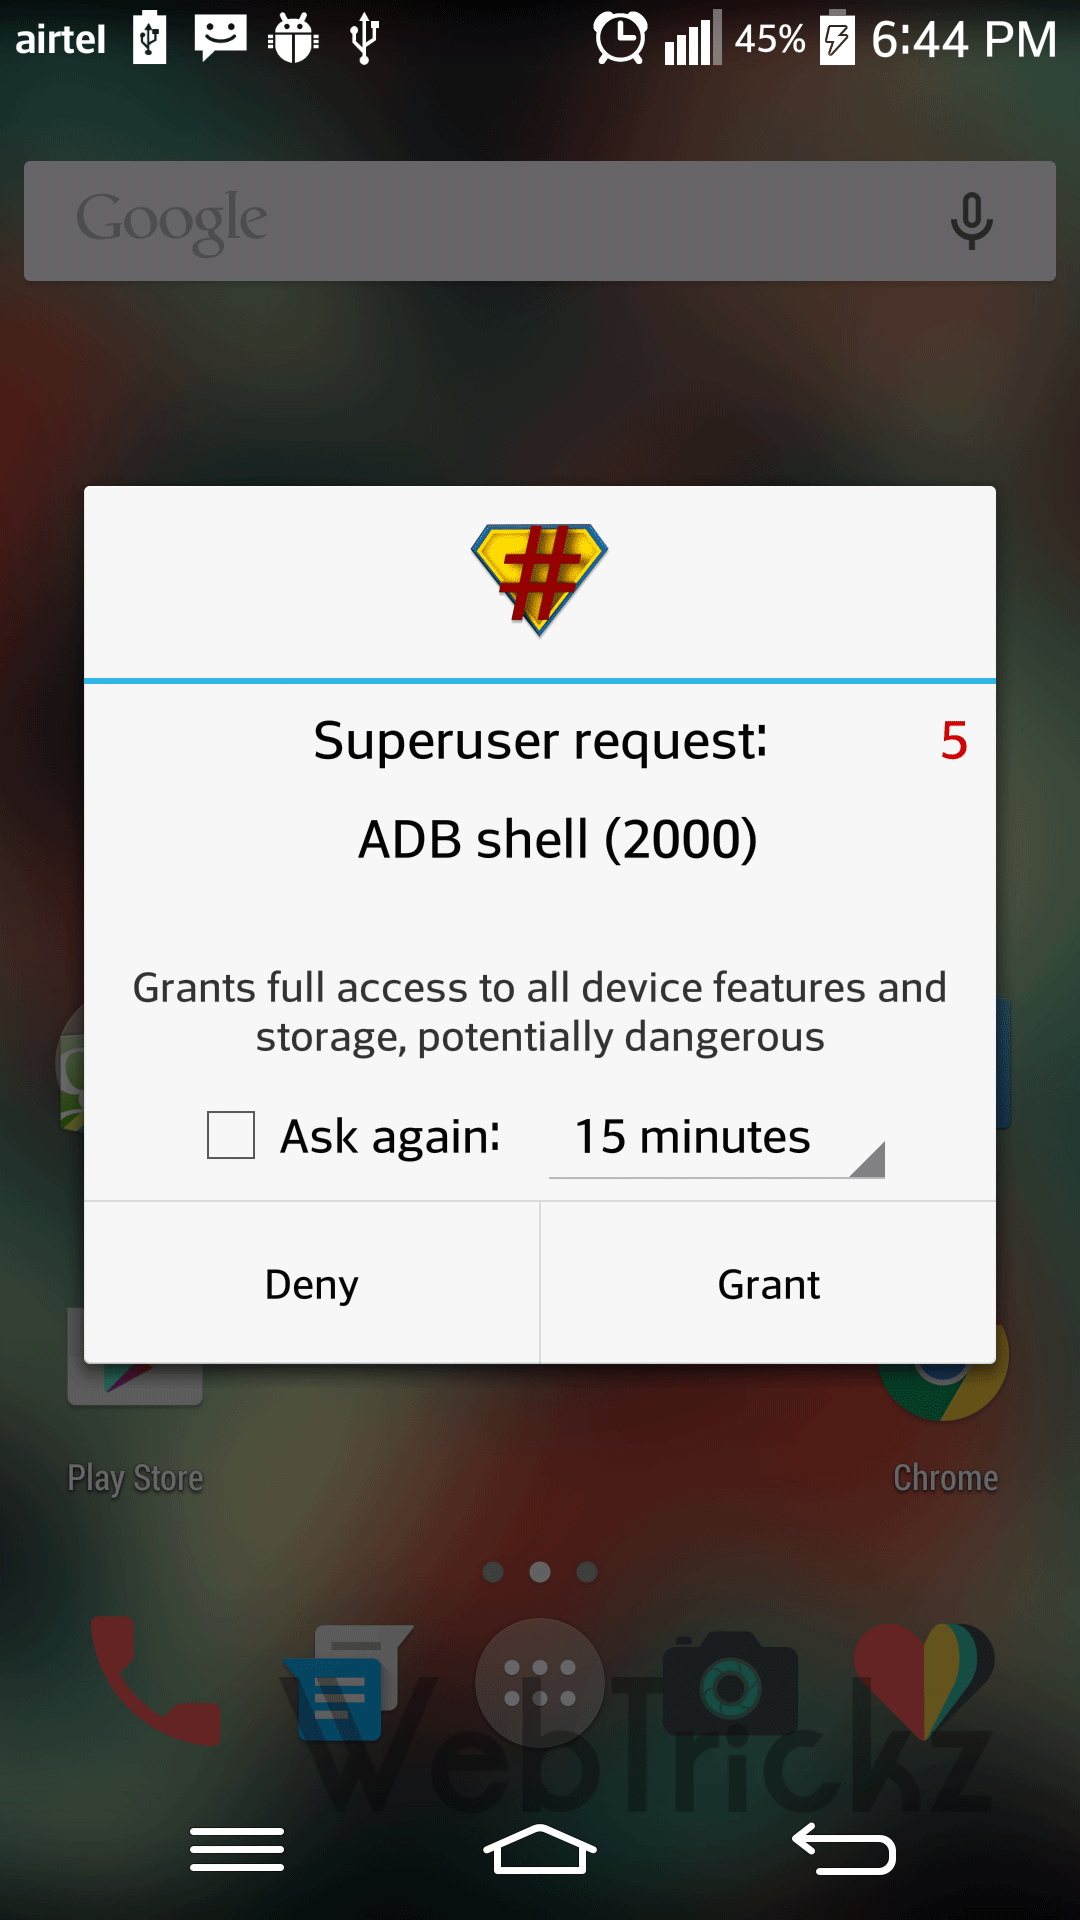
Important: After giving this command, you’ll see a pop-up on phone, ADB shell asking for root access. Grant it SU permission.
- Then run the below command and hit enter. Wait for a while and the phone should reboot and start updating. (Note: If nothing happens on phone, re-enter the command and it should work.)
am start -n com.lge.lgfota.permission/com.lge.lgfota.permission.DmcEzUpdateStart

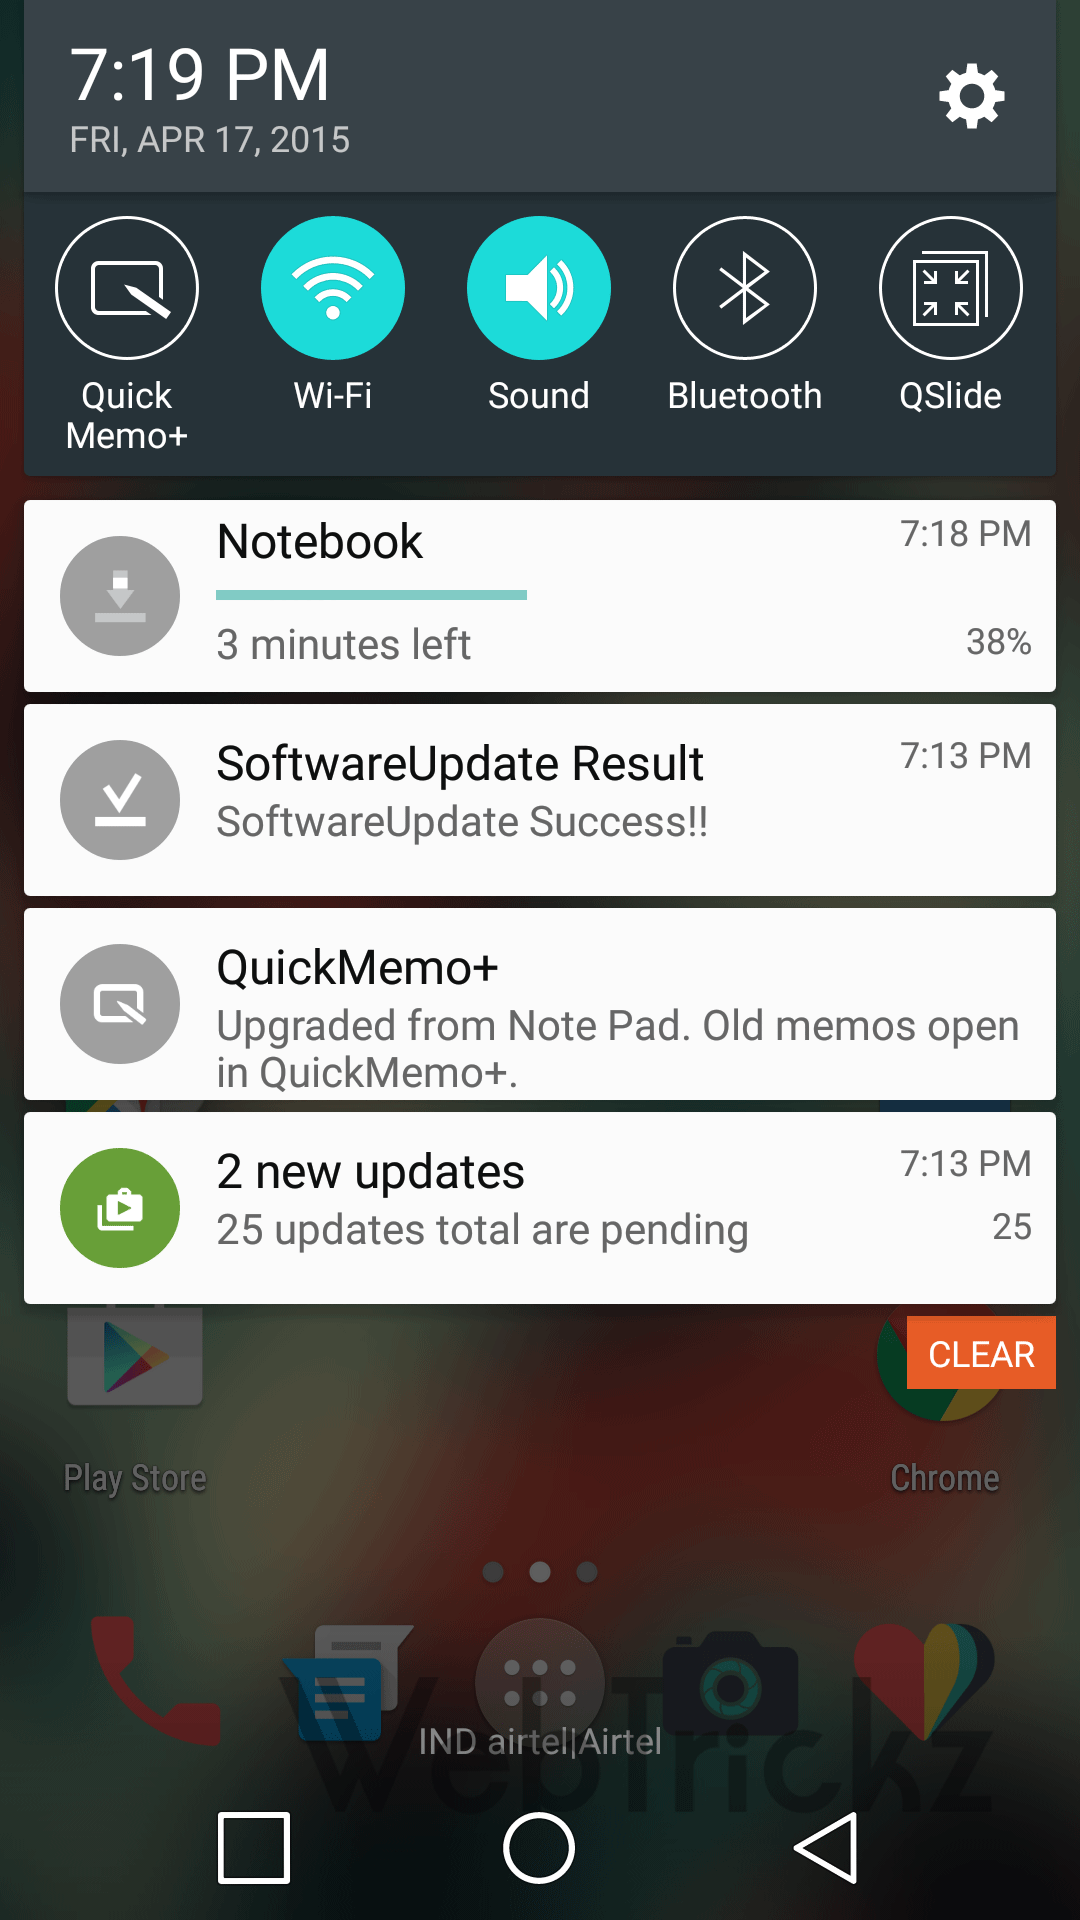
Wait patiently while the phone updates to Lollipop and optimizes the apps. You can verify the update installation by going to About phone > Software info. Enjoy Lollipop on your G2. 
Here are few screenshots:
Note: After updating, if your photos don’t show up in gallery then just take a photo and the media should appear normally like before. You’ll loose root after updating.

TEJWANT GOSAL
who loves everything about technology. He is devoted to everything that is tech-related and tries the best to produce useful and quality BLOGS about mobiles,
No comments:
Post a Comment